
From Kneading to Whipping: How to Adjust Your KitchenAid Mixer for Every Recipe
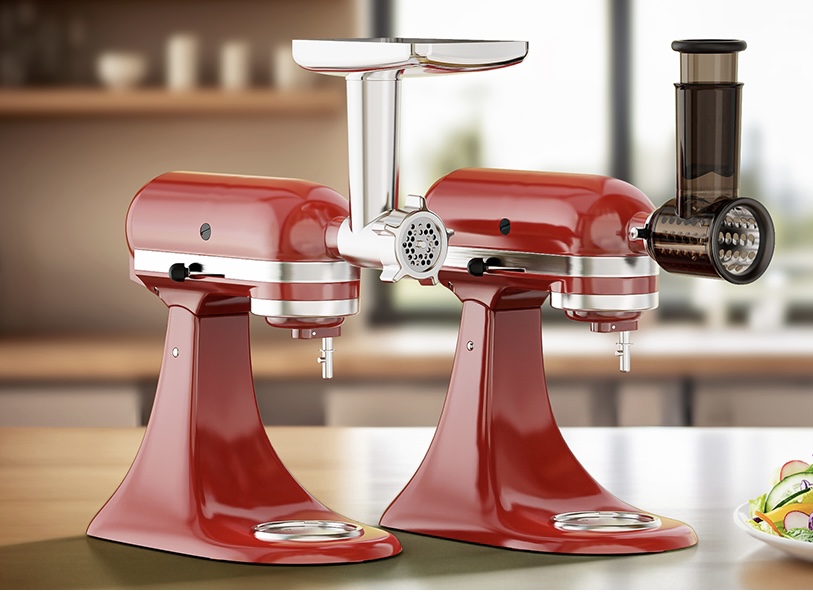

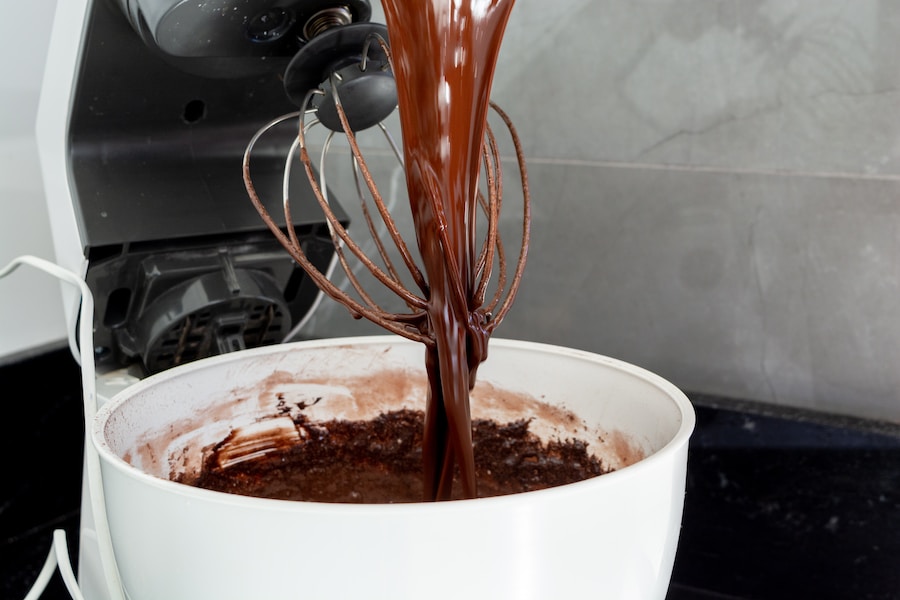
Photo by ‘Felippe Lopes’ on Unsplash.com
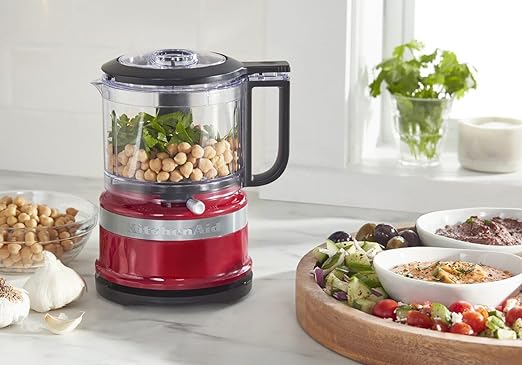
KitchenAid mixers have been a staple in kitchens around the world for over a century. The brand was first introduced in 1919 and has since become synonymous with quality and durability. These mixers are known for their iconic design, powerful motors, and wide range of attachments that make them versatile and indispensable in the kitchen.
One of the main benefits of using a KitchenAid mixer is its ability to save time and effort in the kitchen. With its powerful motor, it can easily handle tough mixing tasks that would otherwise require a lot of manual labor. Whether you’re kneading dough, whipping cream, or mixing cake batter, a KitchenAid mixer can do it all with ease.
Understanding the Different Attachments
One of the key features of a KitchenAid mixer is its wide range of attachments that can be used for various recipes. Some of the most common attachments include the dough hook, wire whip, flat beater, paddle attachment, meat grinder, and vegetable strainer.
The dough hook attachment is perfect for kneading dough for breads, pizza crusts, and other baked goods. It mimics the action of kneading by hand and ensures that the dough is properly mixed and developed.
The wire whip attachment is ideal for whipping cream and eggs. It incorporates air into the mixture, resulting in light and fluffy whipped cream or perfectly beaten eggs for recipes like meringue.
The flat beater attachment is great for mixing cake batter and other thick mixtures. It ensures that all the ingredients are evenly incorporated without overmixing.
The paddle attachment is perfect for making smooth and creamy frostings. It gently mixes the ingredients together without incorporating too much air, resulting in a velvety texture.
The meat grinder attachment allows you to grind your own meat at home, giving you control over the quality and freshness of your ground meat. The vegetable strainer attachment is great for making sauces and purees from fresh fruits and vegetables.
Adjusting the Speed Settings
A KitchenAid mixer typically comes with 10 different speed settings, ranging from slow to high. Understanding when to use each speed setting is crucial for achieving the best results in your recipes.
The slowest speed setting is ideal for starting off recipes that require gentle mixing, such as incorporating dry ingredients into wet ingredients. It prevents ingredients from splattering and ensures that they are evenly mixed.
The medium-low speed setting is great for creaming butter and sugar together. It helps to incorporate air into the mixture, resulting in a light and fluffy texture.
The medium-high speed setting is perfect for mixing cake batters and other thick mixtures. It ensures that all the ingredients are evenly incorporated without overmixing.
The high speed setting is ideal for whipping cream, beating eggs, and kneading dough. It provides maximum power and speed to achieve the desired consistency.
The Importance of Bowl Size
The size of the bowl you use in your KitchenAid mixer can greatly affect the outcome of your recipe. Using a bowl that is too small can result in ingredients spilling over the sides, while using a bowl that is too large can prevent proper mixing.
When choosing a bowl size, it’s important to consider the quantity of ingredients you will be using. If you’re making a small batch of cookies, a smaller bowl will suffice. However, if you’re making a large cake or bread dough, a larger bowl will be necessary.
It’s also important to consider the shape of the bowl. A bowl with a narrow bottom and wide top is ideal for incorporating ingredients without splattering. Additionally, a bowl with a handle makes it easier to pour out the mixture without making a mess.
Tips for Kneading Dough
Kneading dough can be a labor-intensive process, but with a KitchenAid mixer and the dough hook attachment, it becomes a breeze. Here are some tips for achieving the perfect dough consistency:
1. Start by combining all the dry ingredients in the mixing bowl.
2. Attach the dough hook to the mixer and turn it on to the lowest speed setting.
3. Slowly add the wet ingredients to the dry ingredients while the mixer is running.
4. Once all the ingredients are incorporated, increase the speed to medium-high and let the mixer knead the dough for about 5-7 minutes.
5. Keep an eye on the dough as it kneads. It should come together into a smooth and elastic ball. If it looks too dry, add a little more liquid. If it looks too wet, add a little more flour.
6. Once the dough is ready, remove it from the bowl and shape it into a ball. Let it rest for a few minutes before using it in your recipe.
How to Whip Cream and Eggs
Whipping cream and eggs to perfection is easy with a KitchenAid mixer and the wire whip attachment. Here are some tips for achieving the perfect whipped cream and eggs:
1. Start by chilling both the mixing bowl and wire whip attachment in the refrigerator for about 15 minutes.
2. Attach the wire whip to the mixer and turn it on to medium-high speed.
3. Slowly pour in the cream or crack in the eggs while the mixer is running.
4. Keep an eye on the mixture as it whips. It should start to thicken and form soft peaks. Be careful not to overwhip, as it can quickly turn into butter.
5. Once you’ve achieved the desired consistency, stop the mixer and remove the whipped cream or beaten eggs from the bowl.
Also Read:
Making Perfect Meringue
Making meringue can be a delicate process, but with a KitchenAid mixer and the wire whip attachment, it becomes much easier. Here are some tips for achieving the perfect meringue consistency:
1. Start by separating the egg whites from the yolks. Make sure there are no traces of yolk in the whites, as it can prevent them from whipping properly.
2. Attach the wire whip to the mixer and turn it on to medium-high speed.
3. Slowly add the sugar to the egg whites while the mixer is running.
4. Keep an eye on the mixture as it whips. It should start to thicken and form stiff peaks. Be careful not to overwhip, as it can cause the meringue to become dry and grainy.
5. Once you’ve achieved the desired consistency, stop the mixer and use the meringue immediately in your recipe.
Mixing Cake Batter with Ease
Mixing cake batter can be a messy process, but with a KitchenAid mixer and the flat beater attachment, it becomes much easier. Here are some tips for achieving the perfect cake batter consistency:
1. Start by creaming together the butter and sugar in the mixing bowl using the flat beater attachment on medium-high speed.
2. Once the butter and sugar are light and fluffy, add in the eggs one at a time while the mixer is running.
3. Slowly add in the dry ingredients while the mixer is running on low speed.
4. Once all the ingredients are incorporated, increase the speed to medium-high and let the mixer mix the batter for about 2-3 minutes.
5. Keep an eye on the batter as it mixes. It should be smooth and creamy, with no lumps or pockets of dry ingredients.
6. Once you’ve achieved the desired consistency, stop the mixer and use the cake batter immediately in your recipe.
Preparing Smooth and Creamy Frosting
Preparing smooth and creamy frosting is easy with a KitchenAid mixer and the paddle attachment. Here are some tips for achieving the perfect frosting consistency:
1. Start by creaming together the butter and sugar in the mixing bowl using the paddle attachment on medium-high speed.
2. Once the butter and sugar are light and fluffy, add in any flavorings or extracts while the mixer is running.
3. Slowly add in the powdered sugar while the mixer is running on low speed.
4. Once all the ingredients are incorporated, increase the speed to medium-high and let the mixer mix the frosting for about 2-3 minutes.
5. Keep an eye on the frosting as it mixes. It should be smooth and creamy, with no lumps or pockets of powdered sugar.
6. Once you’ve achieved the desired consistency, stop the mixer and use the frosting immediately on your cake or cupcakes.
Grinding Meat and Vegetables
Grinding your own meat and vegetables at home is easy with a KitchenAid mixer and the meat grinder or vegetable strainer attachment. Here are some tips for grinding meat and vegetables:
1. Start by cutting your meat or vegetables into small pieces that will fit into the grinder or strainer attachment.
2. Attach the desired attachment to the mixer and turn it on to low speed.
3. Slowly feed the meat or vegetables into the attachment while the mixer is running.
4. Keep an eye on the ground meat or strained vegetables as they come out of the attachment. Make sure there are no large chunks or pieces that haven’t been properly ground or strained.
5. Once you’ve finished grinding or straining, stop the mixer and remove the attachment. Clean it thoroughly before storing it away.
Cleaning and Maintaining Your KitchenAid Mixer
Properly cleaning and maintaining your KitchenAid mixer is essential for long-term use. Here are some tips for keeping your mixer in top shape:
1. Always unplug the mixer before cleaning or performing any maintenance.
2. Remove any attachments and wash them separately with warm, soapy water. Rinse them thoroughly and dry them completely before storing.
3. Wipe down the mixer body with a damp cloth to remove any spills or splatters. Avoid getting water into the motor housing.
4. To clean the mixing bowl, fill it with warm, soapy water and let it soak for a few minutes. Use a sponge or brush to scrub away any residue, then rinse it thoroughly and dry it completely.
5. Regularly check the attachment hub and gears for any signs of wear or damage. If you notice any issues, contact KitchenAid for repairs or replacement parts.
6. Store your mixer in a clean and dry place, away from direct sunlight and extreme temperatures.
Conclusion:
In conclusion, a KitchenAid mixer is a versatile and indispensable tool in the kitchen. With its wide range of attachments and speed settings, it can handle almost any recipe with ease. Whether you’re kneading dough, whipping cream, mixing cake batter, or grinding meat and vegetables, a KitchenAid mixer can make the process faster and more efficient.
By understanding the different attachments and speed settings, you can adjust your KitchenAid mixer to achieve the perfect consistency in your recipes. Experimenting with different attachments and speed settings can also help you discover new techniques and flavors in your cooking and baking.
So don’t be afraid to get creative in the kitchen with your KitchenAid mixer. With its powerful motor and versatile attachments, the possibilities are endless. Happy mixing!
You might also like